How to Fix Flexible Solar Panels on Your Roof
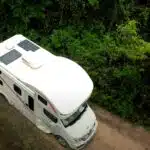
Flexible solar panels have gained popularity due to their lightweight and versatile design. They are an excellent choice for those looking to install solar power systems on unconventional surfaces, such as curved roofs or RVs. However, proper installation is crucial to ensure longevity, performance, and safety. In this blog, we will guide you step-by-step on how to fix flexible solar panels on your roof.
Benefits of Installing Flexible Solar Panels on Your Roof
Before diving into the installation process, let’s highlight why flexible solar panels are a great option:
- Lightweight Design: Unlike traditional rigid panels, flexible panels are lightweight and easier to handle.
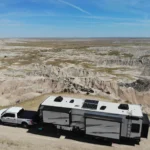
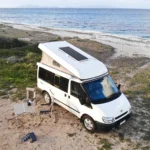
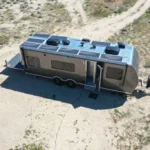
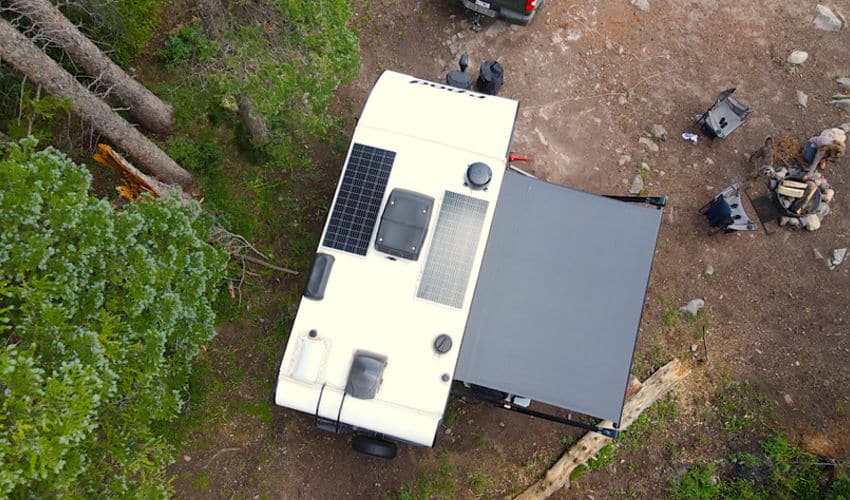
- Adaptability: These panels can conform to curved or uneven surfaces, making them ideal for RVs, boats, or unconventional roofs.
- Durability: With proper installation, they are weather-resistant and can withstand harsh conditions.
- Cost-Effective: Installation is often simpler, reducing labor costs.
Tools and Materials You Will Need
Before starting the installation, gather the following tools and materials:
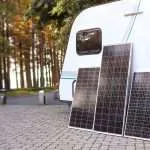
- Flexible solar panels
- Adhesive (specialized for solar panels, such as EternaBond or 3M VHB tape)
- Mounting brackets (optional, for semi-permanent installations)
- Cleaning supplies (mild detergent and water)
- Measuring tape
- Drill and screws (if using brackets)
- Cable ties and wiring clips
- Sealant (UV-resistant and waterproof)
- Safety gear (gloves and goggles)

Step-by-Step Guide to Installing Flexible Solar Panels
Step 1: Prepare the Roof Surface
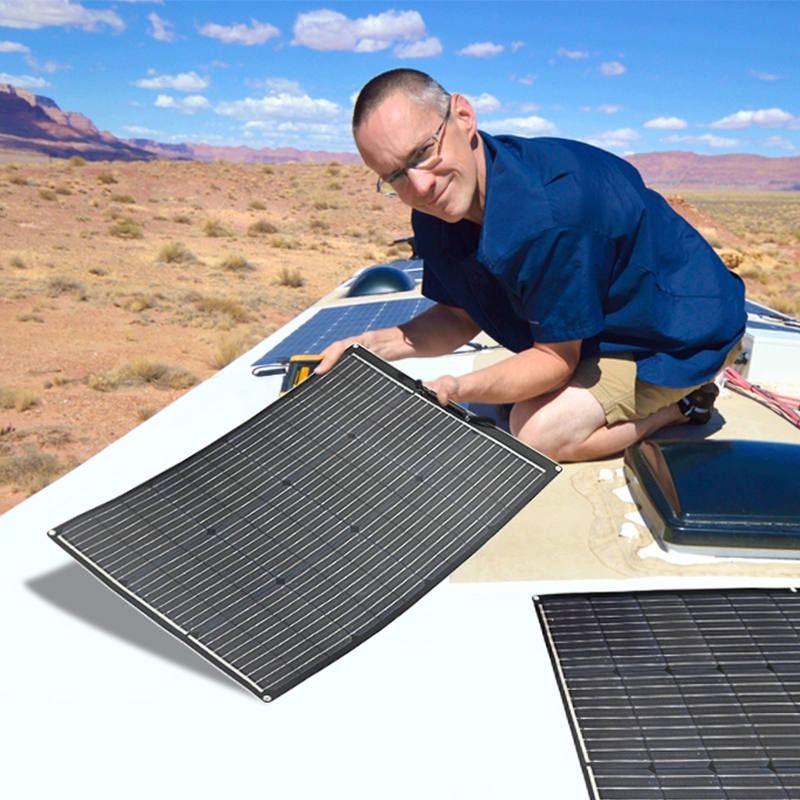
Start by cleaning the surface where you plan to install the panels. Use a mild detergent and water to remove dirt, grease, and debris. Allow the surface to dry completely. A clean surface ensures better adhesion and prevents long-term damage.
Step 2: Plan the Layout
Measure the roof area and plan the layout of your panels. Ensure there is enough space between panels for wiring and maintenance. Also, consider the orientation of the panels—they should face the sun for maximum efficiency.
Step 3: Test the Panels
Before fixing the panels, connect them to your charge controller and battery system to ensure they are functioning correctly. This step prevents issues later on.
Step 4: Attach the Panels
There are several ways to fix flexible solar panels:
- Using Adhesive: Apply a thin, even layer of adhesive to the back of the panel. Press it firmly onto the roof and hold it in place for a few minutes. Make sure to follow the adhesive’s curing time instructions.
- Using Mounting Brackets: For a semi-permanent installation, use mounting brackets. Drill holes into the roof and secure the brackets with screws. Attach the panels to the brackets using clips or screws.
- Using Velcro or Magnetic Strips: For temporary installations, you can use Velcro or magnetic strips. These methods are less secure but allow easy removal.
Step 5: Secure the Wiring
Route the wiring from the panels to the charge controller. Use cable ties or wiring clips to secure the cables and prevent them from dangling. Ensure the wires are not exposed to sharp edges or areas that might cause wear and tear.
Step 6: Seal the Edges
Apply UV-resistant and waterproof sealant around the edges of the panels to protect against water infiltration and debris buildup.
Step 7: Test the System
Once the installation is complete, test the entire solar system. Check the voltage and current output to ensure everything is functioning properly.
Maintenance Tips for Flexible Solar Panels
To ensure the longevity and performance of your solar panels, follow these maintenance tips:
- Regular Cleaning: Clean the panels periodically with a soft cloth and mild detergent to remove dirt and debris.
- Inspect Connections: Check the wiring and connections regularly for any signs of wear or damage.
- Monitor Performance: Use a monitoring system to track the energy output and identify any issues promptly.
- Protect from Extreme Weather: If you live in an area prone to hail or heavy snow, consider adding a protective covering for the panels.
FAQ
Q1: How to Install Flexible Solar Panels for Car Roof?
To install flexible solar panels on a car roof, follow these steps:
- Clean the car roof thoroughly to remove any dirt or grease.
- Use adhesive or Velcro strips for a non-permanent solution.
- Ensure the panels are securely fixed to prevent them from detaching during travel.
- Route and secure the wiring to avoid interference with vehicle operations.
Q2: How to Fix Solar Panels on Roof?
Fixing solar panels on a roof involves:
- Preparing the surface for proper adhesion.
- Using adhesive, mounting brackets, or Velcro, depending on the installation type.
- Ensuring secure wiring and applying sealant for waterproofing.
Q3: Why Not Use Flexible Solar Panels?
While flexible solar panels offer versatility, they may not be suitable for all applications due to:
- Lower efficiency compared to rigid panels.
- Potential wear and tear in extreme conditions.
- Higher upfront costs for premium flexible panels.
Q4: What Glue to Use on Flexible Solar Panels?
For flexible solar panels, use adhesives like EternaBond, 3M VHB tape, or silicone-based adhesives designed for solar applications. Ensure the adhesive is UV-resistant and suitable for outdoor use.
Conclusion
Installing flexible solar panels on your roof is a straightforward process if done correctly. By following the steps outlined in this guide, you can enjoy the benefits of solar energy with a secure and efficient setup. Remember, proper planning and maintenance are key to maximizing the lifespan and performance of your solar panels. If you are unsure about any step,If you’d like to incorporate Sungold specific references or product details, let me know.